With the latest version of SOA/BPM Suite 12c (12.1.3), Oracle provides installations in 2 modes: Development and Production.
In the Development mode, and unlike previous versions, with 12c you can choose to download, install and run a complete environment on your local machine. All with only 1 installation file.
The production mode, on the other hand, includes full sets of components that allows you to set a production environment (or TEST/UAT).
In this post I will describe in few steps, how to download and install Oracle SOA suite 12c in development mode.
Please follow the next step in order to complete you Development environment preparation:
Download and install
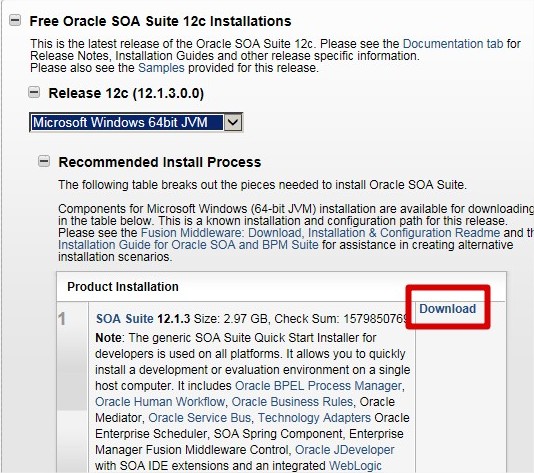
- Download SOA Suite 12c:
http://www.oracle.com/technetwork/middleware/soasuite/downloads/index.html?ssSourceSiteId=ocomen
- Run the installation:
You will first have to download and install Java SE Development Kit 7 (if not done already) –
http://www.oracle.com/technetwork/java/javase/downloads/jdk7-downloads-1880260.htmlWhen done, run the command:
C:\Java\jdk1.7.0_25\bin\java -jar fmw_12.1.3.0.0_soa.jar - When the wizard starts, press next in the first page:

- Choose your Middleware Home:

- Verify that all prerequisite check succeeded, and press next:

- Press install:
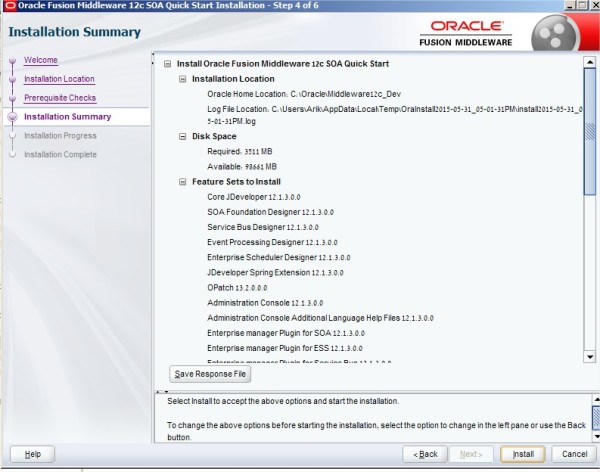
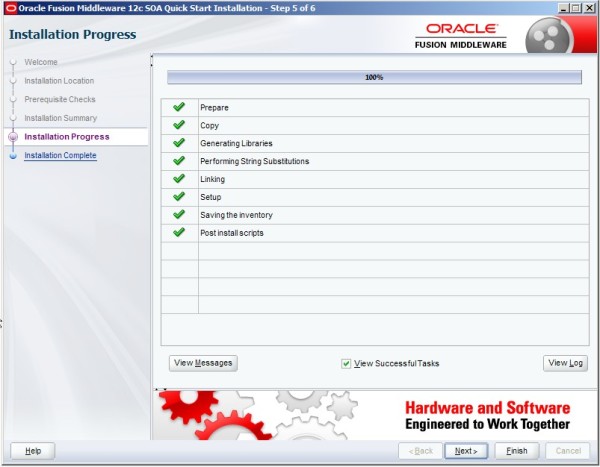
- Verify that the installation completed successfully and press finish:


Start JDeveloper and Configure WL Domain
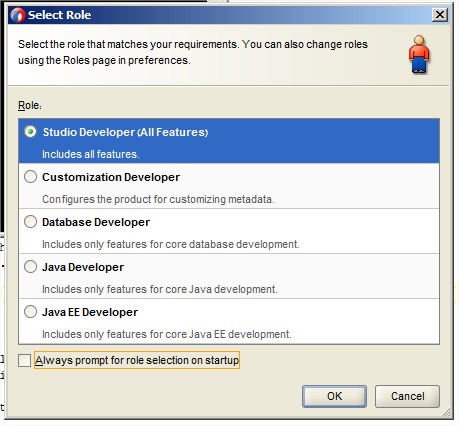
- Start Jdeveloper:

- Choose the default option:
- The next thing, after starting jdeveloper, is to configure a WL domain. This step will actually create a local environment with Admin Server that will allow you to deploy and run your prcessess.
Go to the “Application Server” tab (Window -> Application server), right click on the IntegratedWebLogicServer and choose “Create Default Domain”:
- In the properties window fill the Admin Id and password (you can leave other fields with the default values), and press OK.
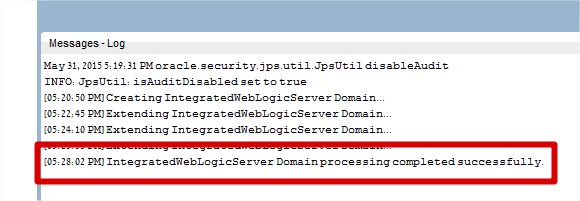
The process will take few minutes: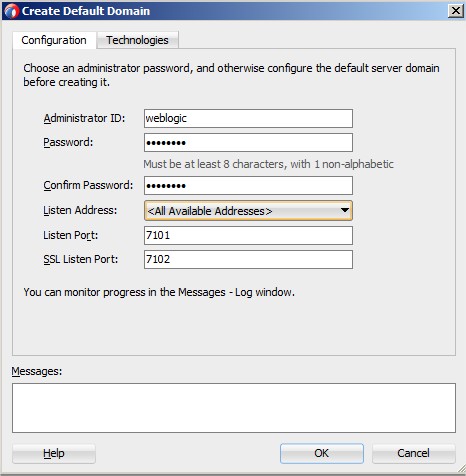
- In the end you will see a confirmation in the log:


Start the SOA server
- Go to the “Application Server” tab (Window -> Application server), right click on the IntegratedWebLogicServer and choose “Start Server Instance”:

- When the server is up you will see the next line in the log:


That’s it. You can now start with your development.
Good Luck
No comments:
Post a Comment